Easy Stained Glass Cookies
Highlighted under: Indulgent Oven Treats
Create beautiful and delicious stained glass cookies that are perfect for any occasion!
These Easy Stained Glass Cookies are a delightful treat that combines the fun of baking with the creativity of art. Perfect for holidays or special gatherings, they are sure to impress with their vibrant colors and sweet flavor!
Why You Will Love This Recipe
- Visually stunning with colorful candy centers
- Fun and easy to make with kids
- Great for holiday gifting or festive occasions
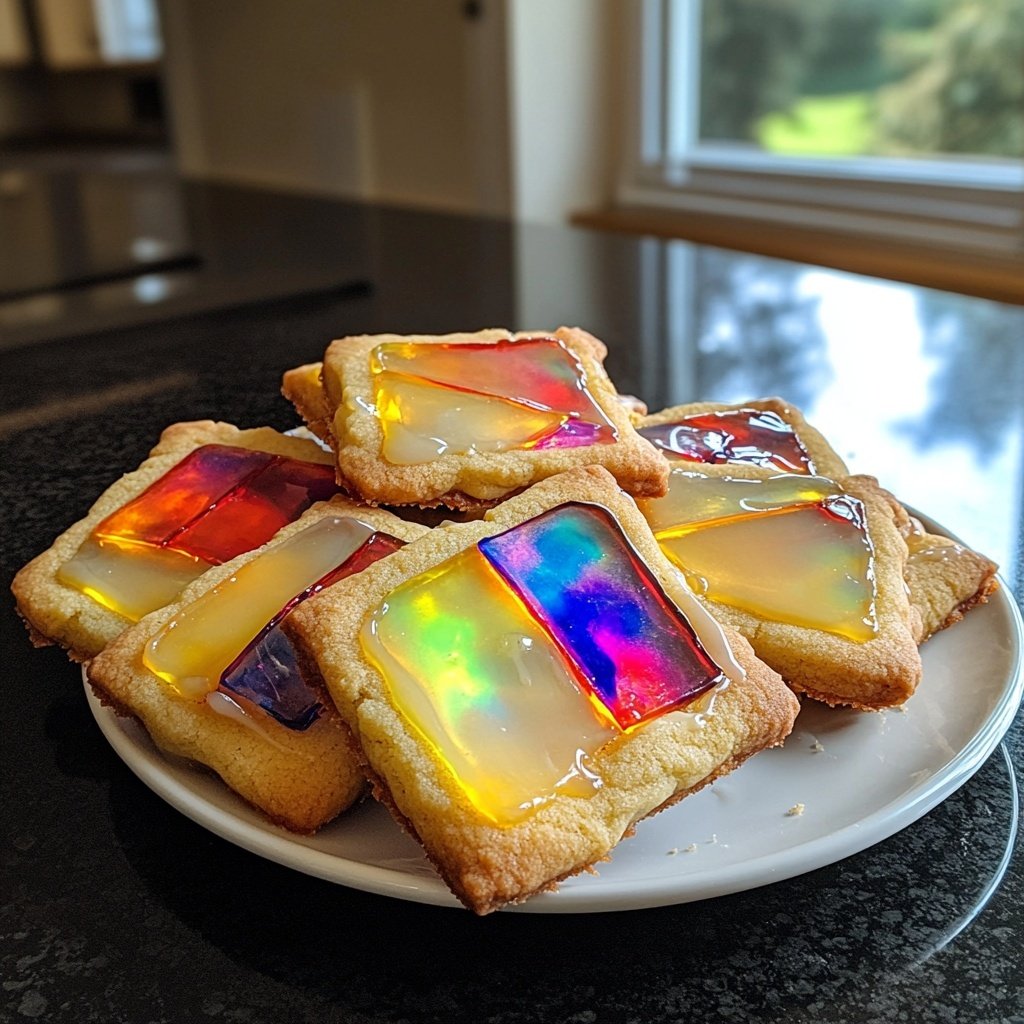
The Magic of Stained Glass Cookies
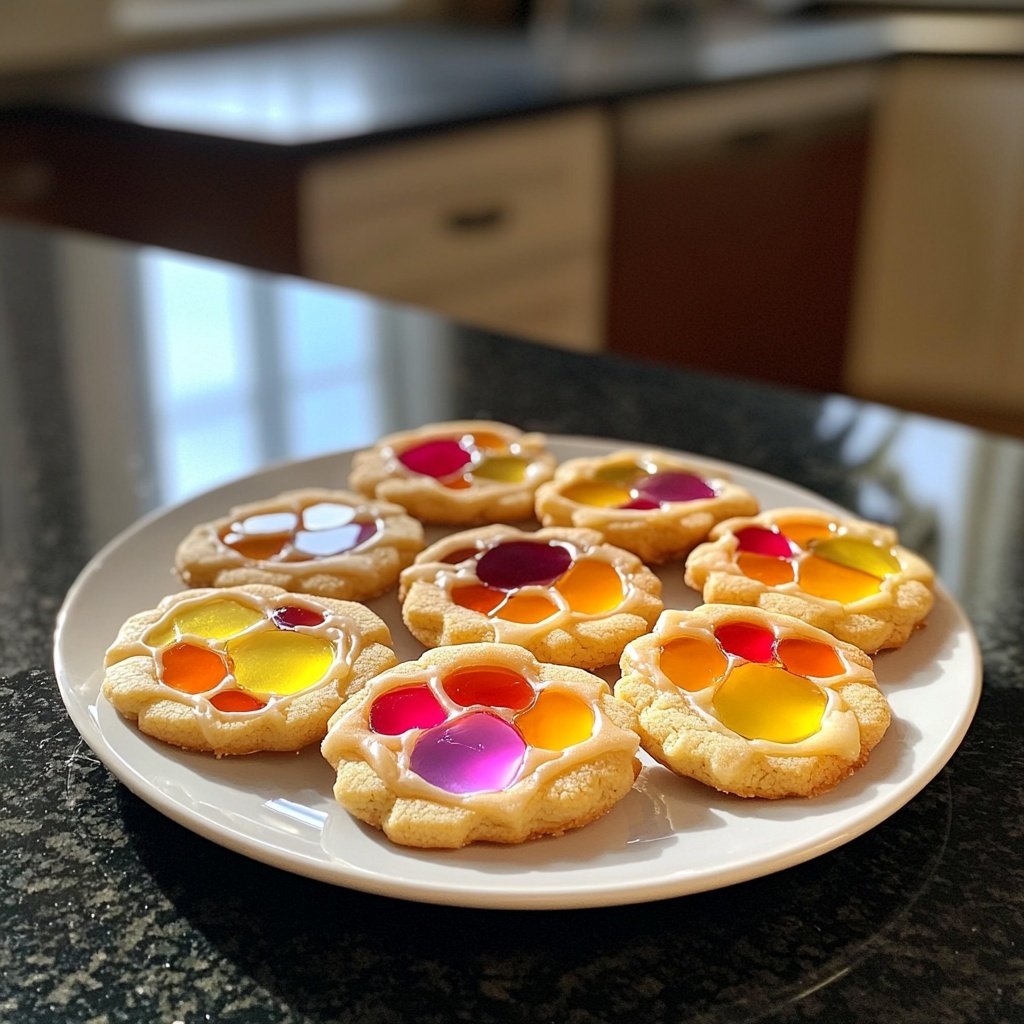
Stained glass cookies are not only a delight for the taste buds but also a feast for the eyes. The vibrant colors of the crushed candy create a beautiful effect that resembles stained glass windows, making them perfect for any festive occasion. Whether you're looking to impress guests at a holiday party or simply want to brighten up a regular day, these cookies are sure to stand out.
What sets these cookies apart is their versatility. You can use a variety of hard candies to create different colors and patterns, allowing you to customize your cookies for any theme. From Christmas reds and greens to pastel shades for spring, the possibilities are endless. Kids will love choosing their favorite colors, making this a fun family activity.
Perfect for All Occasions
These cookies are ideal for holiday gifting, as they not only taste great but also look stunning in decorative boxes. Imagine the joy on a friend's face when they receive a beautifully packaged set of stained glass cookies! They make excellent gifts for teachers, neighbors, or anyone you want to show appreciation to during the festive season.
Additionally, stained glass cookies are a fun activity for gatherings like birthday parties or playdates. Children can join in the fun of rolling, cutting, and filling the cookies, making it a memorable bonding experience. Plus, the sense of accomplishment when they see their colorful creations come out of the oven is unmatched.
Tips for Success
To ensure your stained glass cookies turn out perfectly, it's important to use the right type of hard candies. Opt for clear or semi-transparent candies, as they melt beautifully and create that stunning glass-like effect. Avoid opaque candies, which won't provide the same visual appeal.
Another tip is to allow the cookies to cool completely before removing them from the baking sheets. This will prevent the fragile candy centers from breaking and ensure that your cookies retain their beautiful shapes. Patience is key, but the end result will be worth the wait!
Ingredients
For the Cookie Dough
- 2 3/4 cups all-purpose flour
- 1 teaspoon baking powder
- 1/2 teaspoon salt
- 1 cup unsalted butter, softened
- 1 1/2 cups granulated sugar
- 1 egg
- 1 teaspoon vanilla extract
For the Stained Glass Effect
- 1 cup crushed hard candies (various colors)
Make sure to choose colorful candies for a vibrant stained glass effect!
Instructions
Prepare the Dough
In a bowl, whisk together the flour, baking powder, and salt. In a separate large bowl, cream the softened butter and granulated sugar until light and fluffy. Beat in the egg and vanilla extract. Gradually add the flour mixture, mixing until just combined.
Chill the Dough
Divide the dough into two portions, flatten into discs, wrap in plastic wrap, and refrigerate for at least 1 hour.
Preheat Oven
Preheat your oven to 375°F (190°C). Line baking sheets with parchment paper.
Roll Out and Cut Shapes
Roll out one disc of chilled dough on a lightly floured surface to about 1/4 inch thick. Use cookie cutters to cut out shapes, then use a smaller cutter to cut out the center of each cookie.
Fill with Candy
Place the cookies on the prepared baking sheets and fill the center cutouts with crushed hard candies.
Bake the Cookies
Bake in the preheated oven for 8-10 minutes, or until the edges are lightly golden. Allow to cool completely on the baking sheets.
Enjoy your delicious and beautiful stained glass cookies!
Pro Tips
- For best results, use a variety of colored hard candies for a more vibrant look.
Storing Your Cookies
Once your stained glass cookies have cooled completely, it's essential to store them properly to maintain their freshness. Place them in an airtight container, with layers of parchment paper in between to prevent sticking. They can last for about a week at room temperature, making them perfect for enjoying throughout the week or sharing with friends and family.
If you want to keep them longer, consider freezing the cookies. Simply place them in an airtight container or freezer bag, and they can be stored for up to three months. When you're ready to enjoy them again, let them thaw at room temperature for a few hours, and they'll taste as good as new!
Variations and Flavor Additions
While the classic stained glass cookie recipe is delicious on its own, feel free to experiment with flavors! Adding a bit of almond extract or lemon zest to the dough can elevate the taste and provide a delightful twist. You can also mix in some chocolate chips or nuts for added texture and flavor.
For an even more festive touch, consider decorating the cooled cookies with icing or sprinkles. This not only enhances their appearance but also allows for additional creativity. You can even create themes, such as Halloween or Valentine's Day, by using color-coordinated candies and decorations.
Questions About Recipes
→ Can I use different types of candies?
Yes, you can use any type of hard candy, just make sure they are colorful for the stained glass effect.
→ How long do these cookies last?
Stored in an airtight container, they can last up to a week.
→ Can I freeze the cookie dough?
Absolutely! You can freeze the dough for up to 3 months. Just thaw it in the refrigerator before rolling out.
→ What can I use instead of butter?
You can substitute with margarine or a non-dairy butter alternative for a dairy-free version.
Easy Stained Glass Cookies
Created by: Freya Cooper
Recipe Type: Indulgent Oven Treats
Skill Level: Beginner
Final Quantity: 24 cookies
What You'll Need
For the Cookie Dough
- 2 3/4 cups all-purpose flour
- 1 teaspoon baking powder
- 1/2 teaspoon salt
- 1 cup unsalted butter, softened
- 1 1/2 cups granulated sugar
- 1 egg
- 1 teaspoon vanilla extract
For the Stained Glass Effect
- 1 cup crushed hard candies (various colors)
How-To Steps
In a bowl, whisk together the flour, baking powder, and salt. In a separate large bowl, cream the softened butter and granulated sugar until light and fluffy. Beat in the egg and vanilla extract. Gradually add the flour mixture, mixing until just combined.
Divide the dough into two portions, flatten into discs, wrap in plastic wrap, and refrigerate for at least 1 hour.
Preheat your oven to 375°F (190°C). Line baking sheets with parchment paper.
Roll out one disc of chilled dough on a lightly floured surface to about 1/4 inch thick. Use cookie cutters to cut out shapes, then use a smaller cutter to cut out the center of each cookie.
Place the cookies on the prepared baking sheets and fill the center cutouts with crushed hard candies.
Bake in the preheated oven for 8-10 minutes, or until the edges are lightly golden. Allow to cool completely on the baking sheets.
Extra Tips
- For best results, use a variety of colored hard candies for a more vibrant look.
Nutritional Breakdown (Per Serving)
- Calories: 120 kcal
- Total Fat: 7g
- Saturated Fat: 4g
- Cholesterol: 20mg
- Sodium: 50mg
- Total Carbohydrates: 14g
- Dietary Fiber: 0g
- Sugars: 6g
- Protein: 1g