Easy Stained Glass Cookies
Highlighted under: Indulgent Oven Treats
Delightful and colorful, these Easy Stained Glass Cookies are perfect for any occasion!
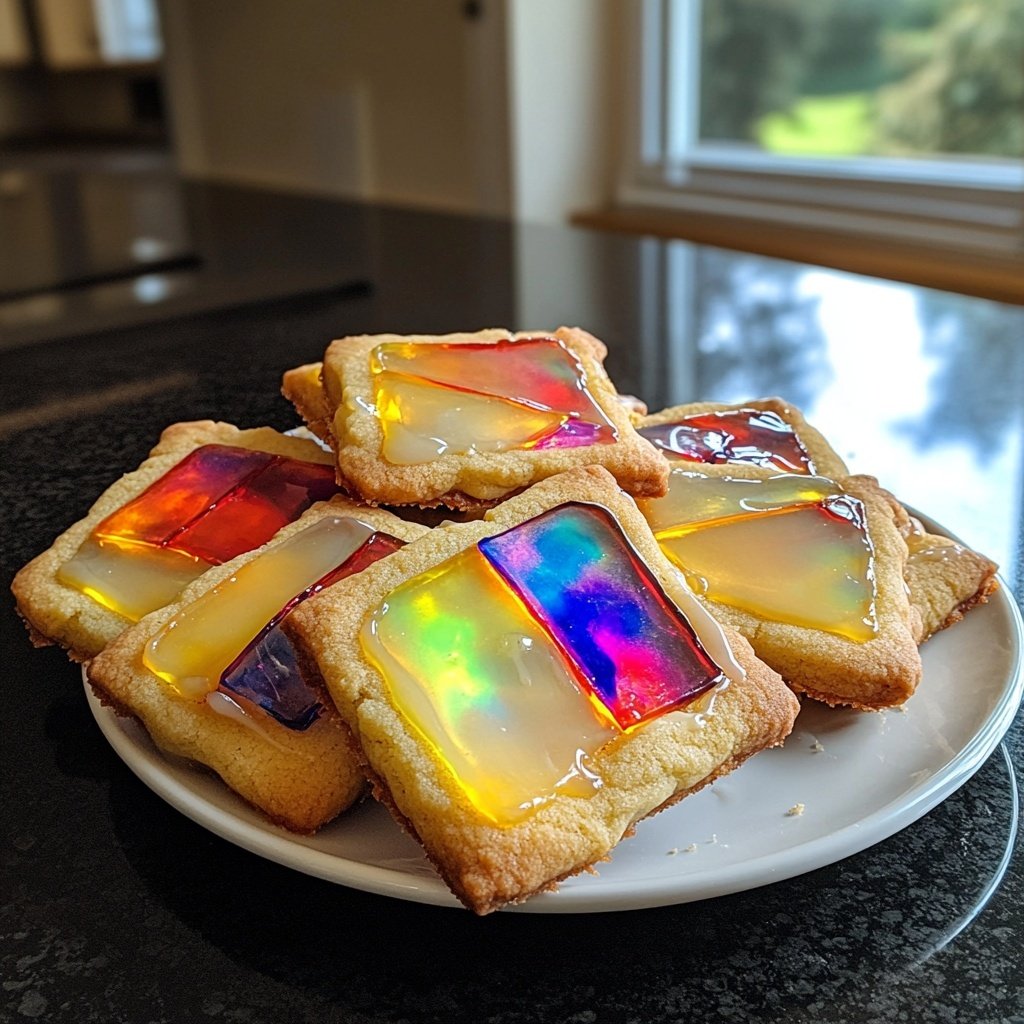
These Easy Stained Glass Cookies are not only fun to make, but they also bring a pop of color to your dessert table. Perfect for holidays and celebrations, the transparent candy centers create a stunning visual effect that will impress your guests.
Why You Will Love This Recipe
- Vibrant colors that add a festive touch
- Simple ingredients and easy preparation
- A fun baking activity for kids and adults alike
A Colorful Treat for Any Occasion
These Easy Stained Glass Cookies are not just delicious; they are a feast for the eyes as well! Their vibrant colors make them a perfect addition to holiday gatherings, birthday parties, or just a fun family baking day. The combination of buttery cookie dough and sweet, melted candy centers creates a delightful contrast that will impress both kids and adults alike.
Whether you’re baking for a festive celebration or a cozy afternoon treat, these cookies are versatile enough to fit any theme. You can customize the colors of the candies used to match the occasion, making them a fun and creative project for everyone involved. Get ready to wow your guests with these stunning cookies!
Baking with Kids: A Fun Activity
Baking is a wonderful way to spend quality time with family, and these Easy Stained Glass Cookies are perfect for involving kids in the kitchen. The process of cutting out shapes and filling them with colorful candy is not only fun but also helps children develop essential skills like measuring, mixing, and following instructions.
As you work together, you can encourage creativity by letting kids choose their favorite shapes and colors for the cookies. This interactive experience makes baking memorable, and the end result is a beautiful treat that everyone can enjoy. Plus, it’s a great opportunity to teach kids about the joy of sharing homemade goodies!
Storage and Freshness Tips
To keep your Easy Stained Glass Cookies fresh, store them in an airtight container at room temperature. This will help maintain their crisp texture and prevent them from becoming too soft. If you live in a particularly humid environment, you may want to add a slice of bread to the container; it will absorb excess moisture and keep the cookies fresh longer.
These cookies can also be frozen for up to three months. Just ensure they are completely cooled and layered between parchment paper in an airtight container before freezing. When you're ready to enjoy them, simply thaw them at room temperature for a delightful treat anytime!
Ingredients
For the Cookies
- 2 3/4 cups all-purpose flour
- 1 teaspoon baking powder
- 1/2 teaspoon salt
- 1 cup unsalted butter, softened
- 1 cup granulated sugar
- 1 large egg
- 1 teaspoon vanilla extract
- 1 teaspoon almond extract
For the Stained Glass Centers
- 1 cup assorted hard candies (like Jolly Ranchers or Life Savers)

Instructions
Prepare the Dough
In a bowl, whisk together the flour, baking powder, and salt. In another large bowl, cream the butter and sugar until light and fluffy. Beat in the egg and extracts until well combined. Gradually add the flour mixture to the wet ingredients, mixing until just combined. Wrap the dough in plastic wrap and chill for at least 1 hour.
Shape and Cut the Cookies
Preheat your oven to 350°F (175°C). Roll out the chilled dough on a floured surface to about 1/4 inch thick. Use cookie cutters to cut out shapes. Use a smaller cookie cutter to remove the center of each shape. Place the cookies on a baking sheet lined with parchment paper.
Add the Candy
Crush the hard candies into small pieces and fill the centers of the cookies with the crushed candy. Bake in the preheated oven for 8-10 minutes, or until the edges are lightly golden and the candy is melted.
Cool and Serve
Allow the cookies to cool on the baking sheet for a few minutes before transferring them to a wire rack to cool completely. Enjoy your beautiful stained glass cookies!
Pro Tips
- Experiment with different shapes and colors of candies for a variety of stained glass effects.
Tips for Perfect Cookies
For the best results, make sure your butter is softened but not melted. This allows for proper creaming with the sugar, which is essential for achieving the right texture. Additionally, be mindful of not overmixing the dough once you add the flour; this helps keep the cookies tender and delicious.
When it comes to rolling out the dough, a light dusting of flour on your work surface and rolling pin can prevent sticking. If the dough feels too soft to handle, don’t hesitate to chill it for another 15-30 minutes before cutting your shapes.
Customizing Your Cookies
One of the great advantages of these cookies is their adaptability. Feel free to experiment with different flavors by incorporating citrus zest, spices like cinnamon or nutmeg, or even a splash of food coloring in the dough for added fun. The possibilities are endless!
You can also swap out the hard candies for other types of sweets, like chocolate chips or colorful sprinkles, to create a different look and flavor profile. This way, you can cater to various tastes and preferences, making these cookies a hit with everyone.
Questions About Recipes
→ Can I use different types of candy?
Yes, feel free to use any hard candies that can melt well, such as Jolly Ranchers or Life Savers.
→ How do I store these cookies?
Store the cookies in an airtight container at room temperature for up to one week.
→ Can I make the dough ahead of time?
Absolutely! You can make the dough in advance and keep it in the refrigerator for up to 3 days or freeze it for up to a month.
→ What if my candy doesn't melt evenly?
Make sure to crush the candy into small pieces and avoid over-baking, as this can cause uneven melting.
Easy Stained Glass Cookies
Created by: Freya Cooper
Recipe Type: Indulgent Oven Treats
Skill Level: Easy
Final Quantity: 24 cookies
What You'll Need
For the Cookies
- 2 3/4 cups all-purpose flour
- 1 teaspoon baking powder
- 1/2 teaspoon salt
- 1 cup unsalted butter, softened
- 1 cup granulated sugar
- 1 large egg
- 1 teaspoon vanilla extract
- 1 teaspoon almond extract
For the Stained Glass Centers
- 1 cup assorted hard candies (like Jolly Ranchers or Life Savers)
How-To Steps
In a bowl, whisk together the flour, baking powder, and salt. In another large bowl, cream the butter and sugar until light and fluffy. Beat in the egg and extracts until well combined. Gradually add the flour mixture to the wet ingredients, mixing until just combined. Wrap the dough in plastic wrap and chill for at least 1 hour.
Preheat your oven to 350°F (175°C). Roll out the chilled dough on a floured surface to about 1/4 inch thick. Use cookie cutters to cut out shapes. Use a smaller cookie cutter to remove the center of each shape. Place the cookies on a baking sheet lined with parchment paper.
Crush the hard candies into small pieces and fill the centers of the cookies with the crushed candy. Bake in the preheated oven for 8-10 minutes, or until the edges are lightly golden and the candy is melted.
Allow the cookies to cool on the baking sheet for a few minutes before transferring them to a wire rack to cool completely. Enjoy your beautiful stained glass cookies!
Extra Tips
- Experiment with different shapes and colors of candies for a variety of stained glass effects.
Nutritional Breakdown (Per Serving)
- Calories: 120 kcal
- Total Fat: 6g
- Saturated Fat: 4g
- Cholesterol: 30mg
- Sodium: 50mg
- Total Carbohydrates: 16g
- Dietary Fiber: 0g
- Sugars: 8g
- Protein: 1g